

Miládka does most of the work herself – you just click where she can't click for you.
What you'll need:
- A computer. With Windows or a Mac.
- An email address. The one you'll use for your Claude account.
- A Claude subscription. Pro or Max.
There's nothing else to get ready in advance.
Claude is evolving fast, so buttons and windows may look different from the screenshots and something may not fit. If something doesn’t work for you, tell Miládka, she’ll try to fix it. If she can’t, she’ll prepare a message for us.
Step 1 – Install the Claude app
Miládka isn't a standalone program. She's an assistant that runs inside the Claude app – so that's what you need first.
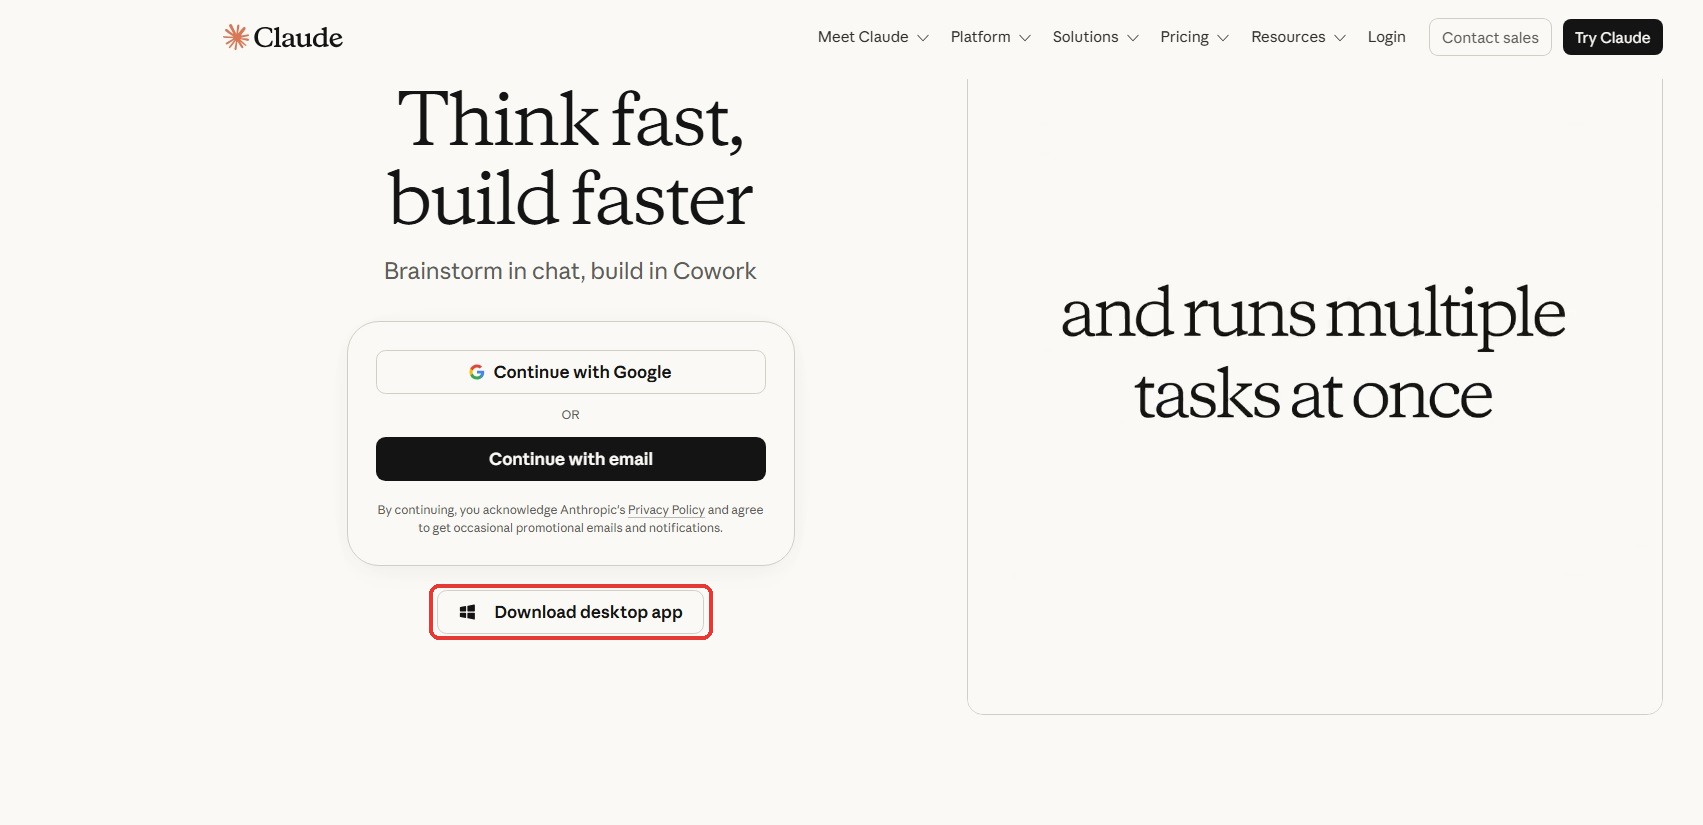
Open claude.ai/download. The page detects what computer you have and offers the right version.
- Click the download button.
- Run the downloaded file and let the installation finish.
- Sign in with your account. If you don't have one yet, the app walks you through creating it.
- Click the download button.
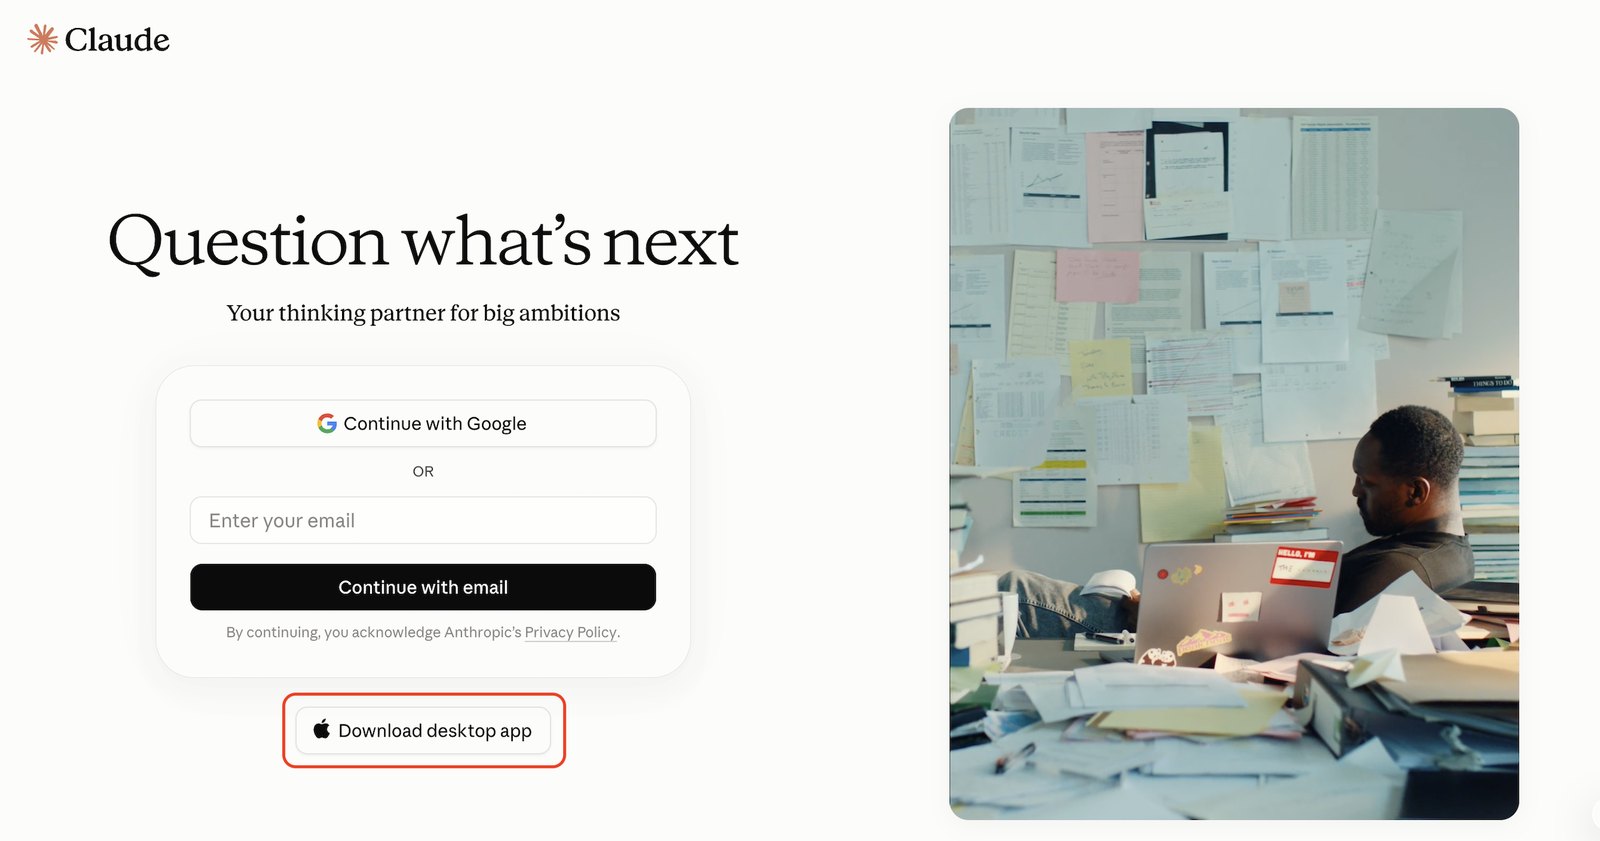
- Open the downloaded file. A window appears with the Claude icon on the left and the Applications folder on the right.
- Drag the Claude icon onto the Applications folder. That's the whole installation – nothing else runs.
- Start Claude from Applications and sign in with your account.
You need a subscription. Miládka runs on the paid version of Claude (Pro or Max) – a free account isn't enough. You can get the subscription right in the app.
Step 2 – Download Miládka and put her on your disk
Miládka isn't a program you install. She's a folder of files – think of it as a binder where she'll keep everything you tell her. You download it, unpack it and leave it on your computer.
You'll find the archive in the portal: portal.miladka.cz → Installation → Download Miládka.
Next to the download button you pick the package language – Czech or English. Miládka will speak and write in that language, so double-check before downloading that you have the version you actually want selected. If you need a different language version, write to us at podpora@miladka.cz.
Unpack the downloaded file
- Find the downloaded file
miladka-installer.zip– it's usually in the Downloads folder. - Right-click it, choose Extract All and confirm with Extract.
- A folder
miladka-installerappears, and inside it a foldermiladka– that's Miládka.
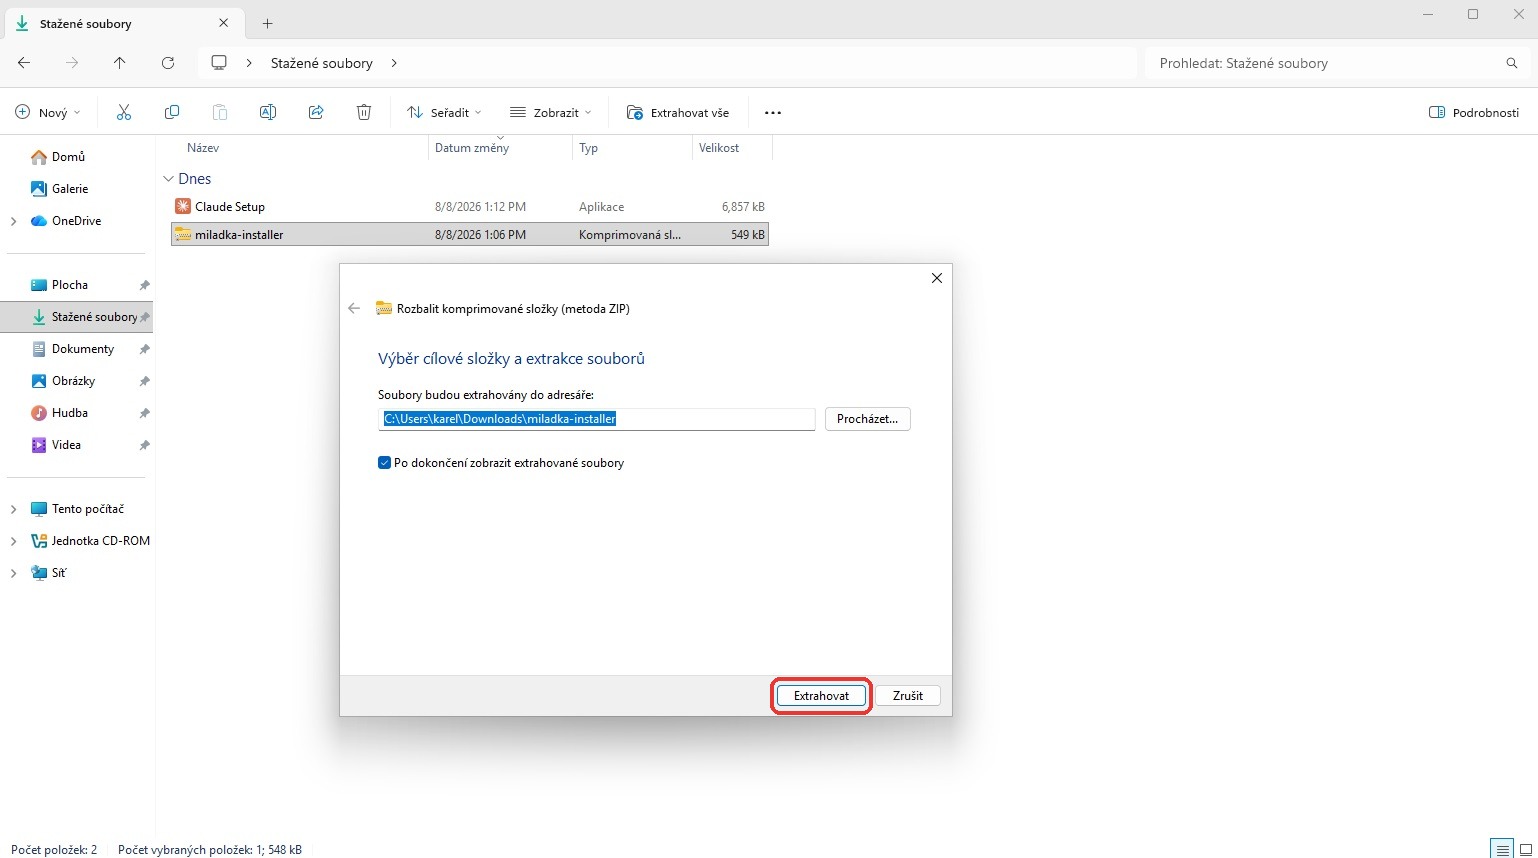
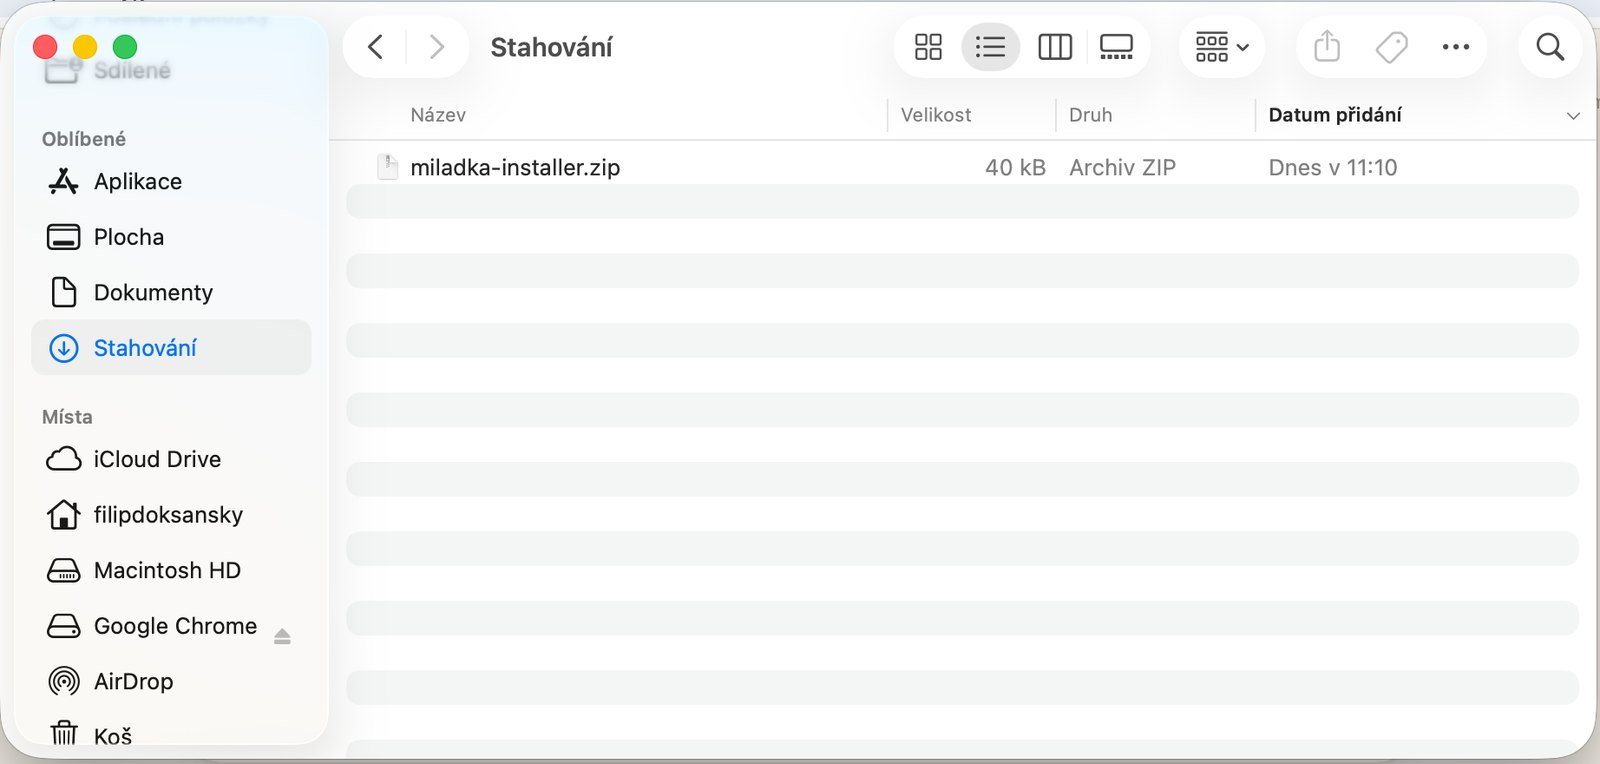
What you get depends on your browser. Open the Downloads folder and go by what's in it.
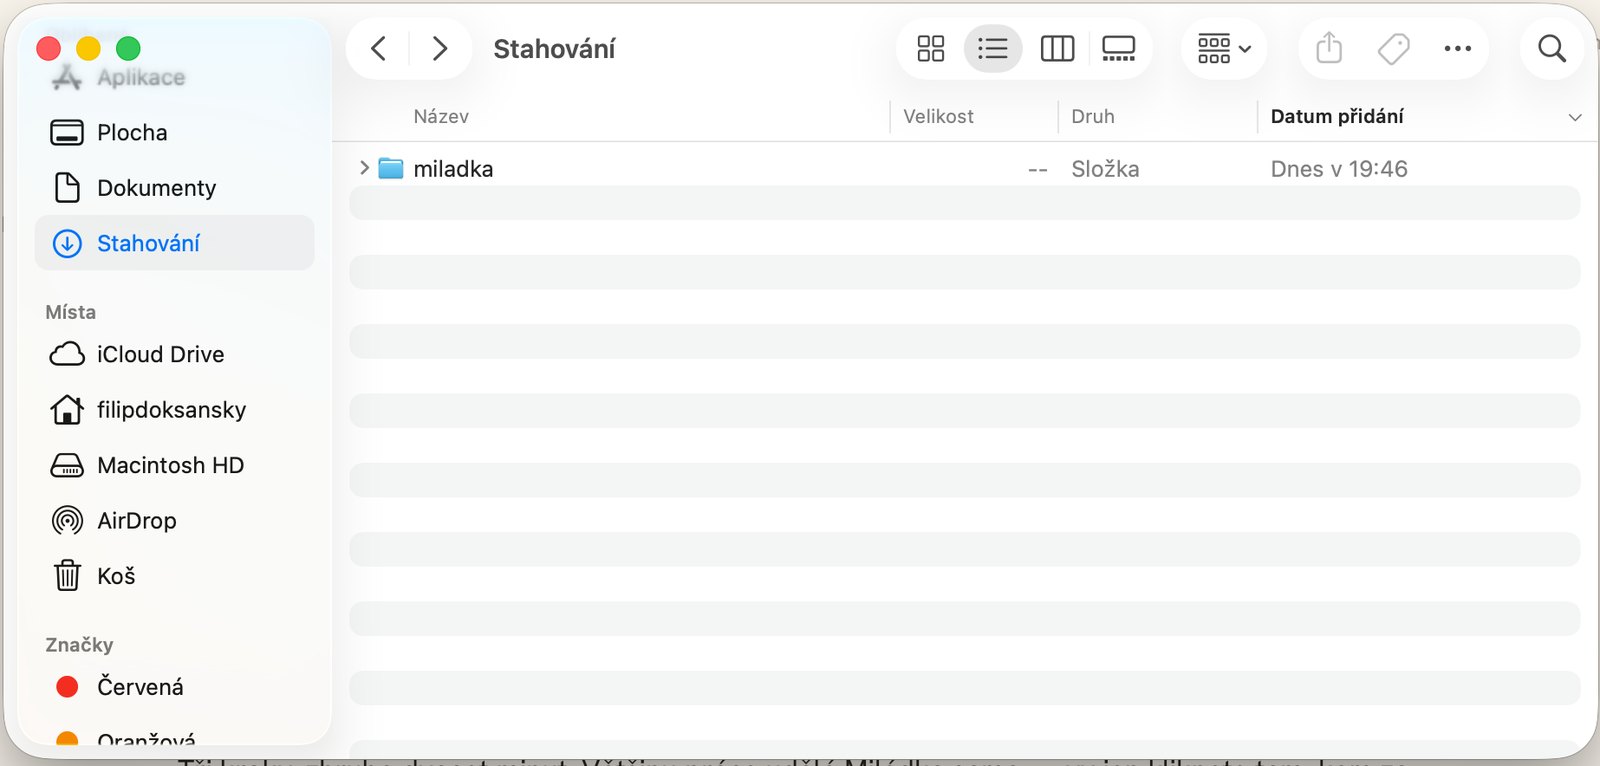
You downloaded it in Safari – there's a miladka folder right away
Safari unpacks archives automatically after downloading, so you never see the zip. This step is already done for you; carry on.
You downloaded it in Chrome or another browser – there's miladka-installer.zip
- Double-click the
miladka-installer.zipfile. - That's all – a folder
miladkaappears next to it by itself. No window asks anything.
Unpacking with a different program (WinRAR, 7-Zip…)? No problem – just look for the miladka folder with Miládka's files directly inside. Depending on the program, it may be wrapped in one more folder.
The screenshots come from the Czech version – the windows look the same, only the labels differ.
Put her in the right place
Move the miladka folder somewhere you'll easily find it and where nobody else touches it.
- Open This PC and in it the C: drive.
- Drag the
miladkafolder straight onto the C: drive – the inner one with the files, not themiladka-installerwrapper. Don't create any new folder.
The result: the path C:\\miladka with Miládka's files directly inside (you'll see README and the cheatsheet among others). No folder inside a folder. Remember the path, you'll need it in a moment.
- Open Finder and in the left column click your name (the little house icon). That's your home folder.
- Drag the
miladkafolder straight into it – don't create any new folder.
The result: a miladka folder in your home folder with Miládka's files directly inside. No folder inside a folder.
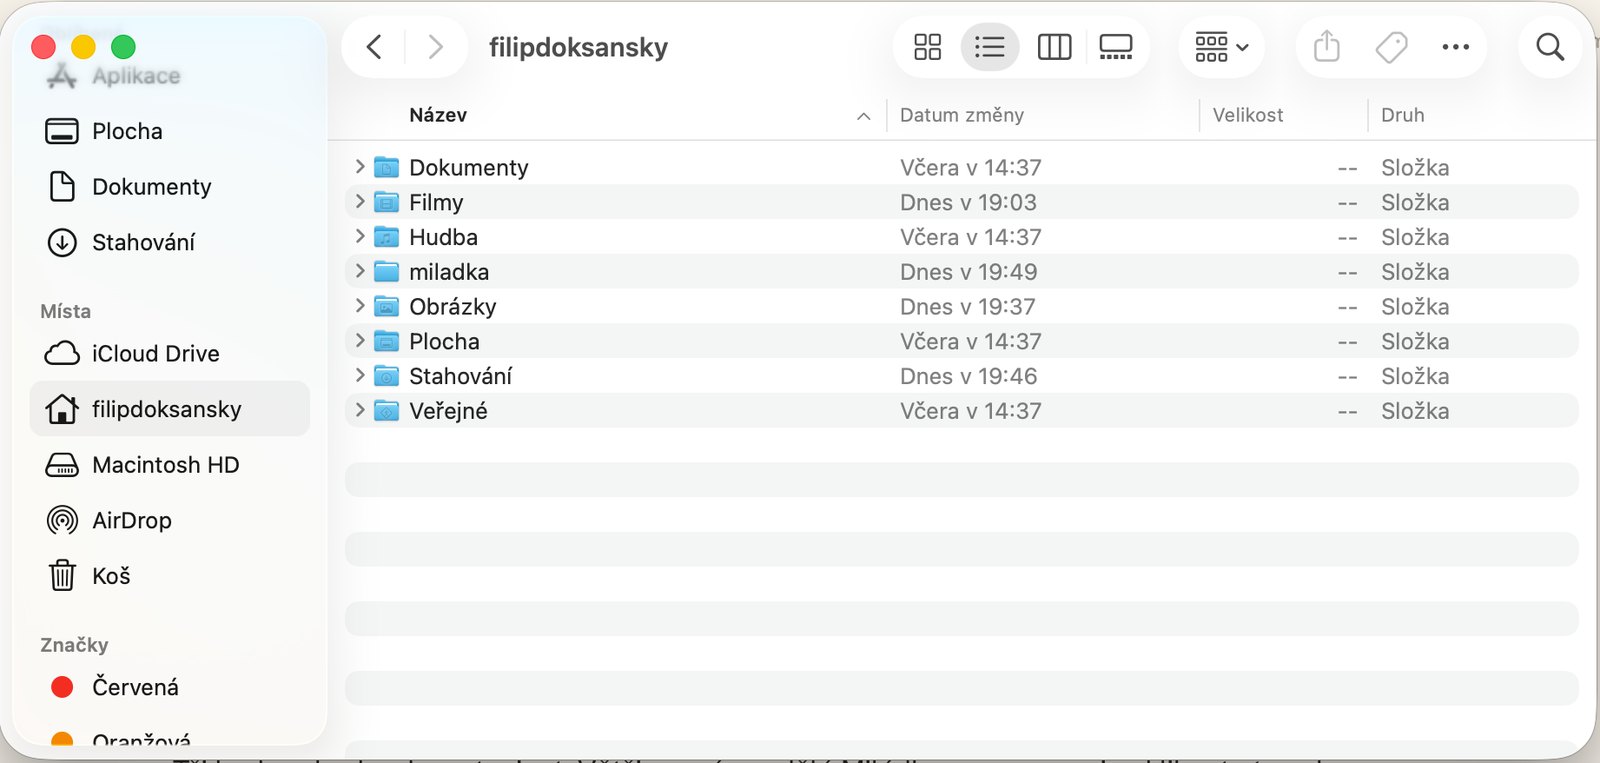
From now on, don't rename the folder and don't open anything in it yet. No need – Miládka does everything herself.
Step 3 – Show Miládka where she lives
Now you'll start her. Besides regular chat, the Claude app can also work with folders on your computer – and that's exactly what you'll use now.
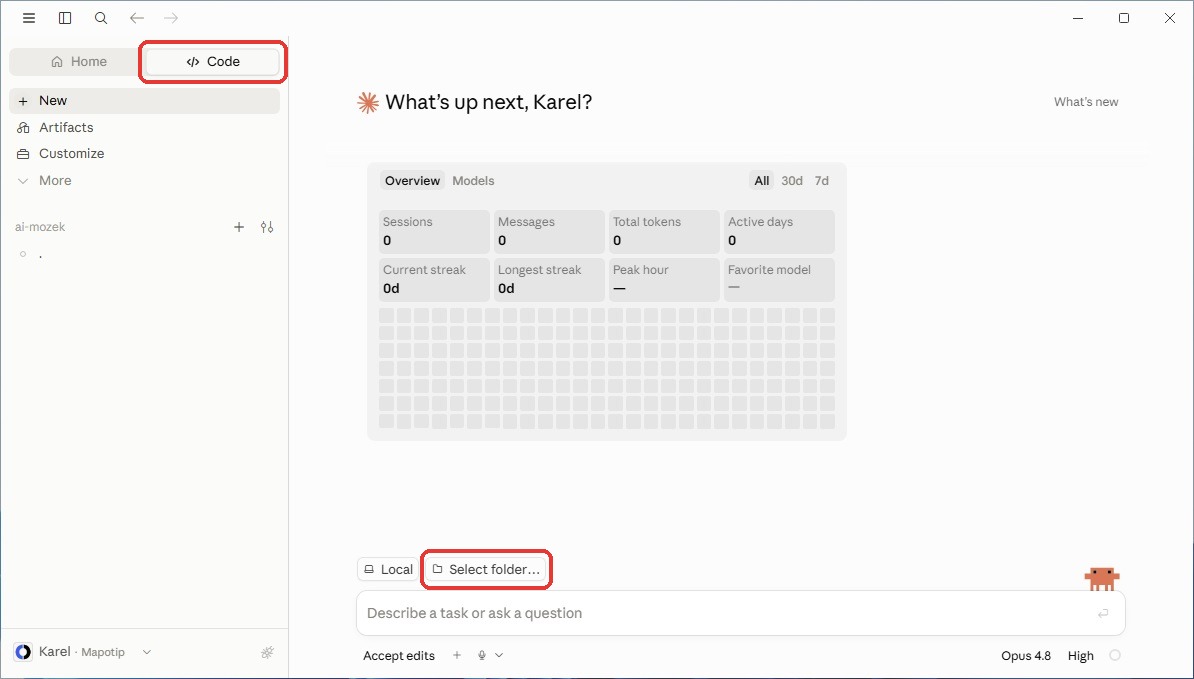
Open Claude Code
- Start the Claude app you installed in step 1.
- Switch to the Code tab. It's a different place than the regular chat – here Claude works with the files on your computer.
Pick the Miládka folder
- At the bottom, next to the text box, click Select folder…
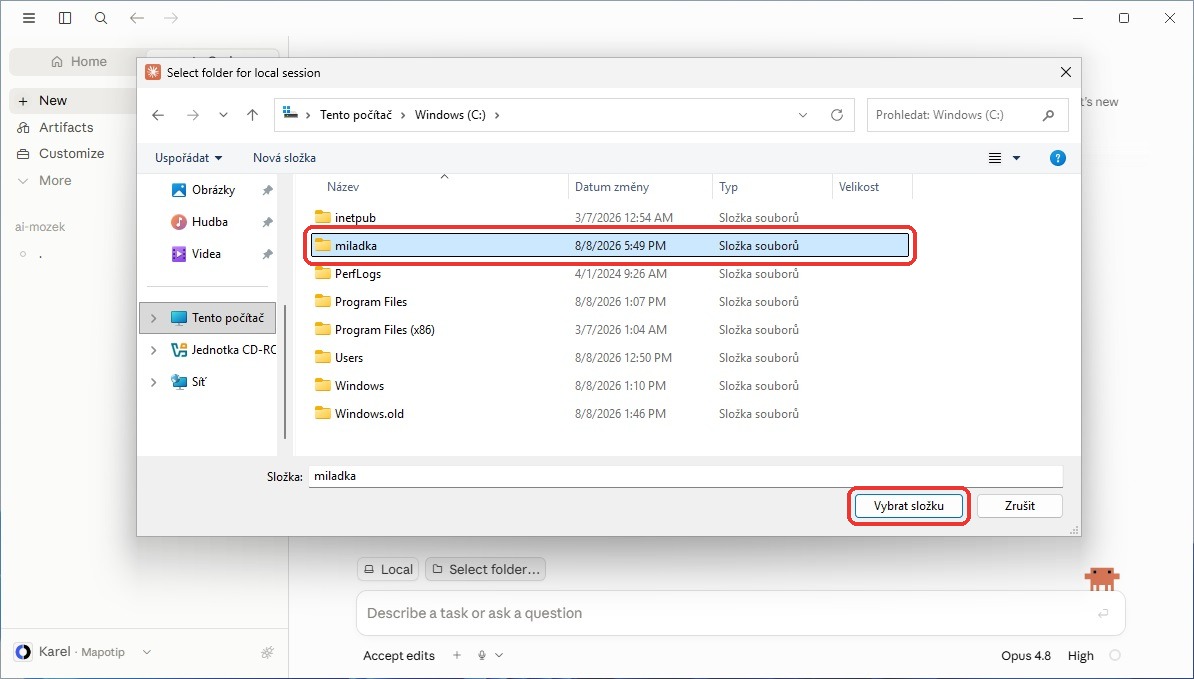
- A window for browsing your computer opens. Find the
miladkafolder you put in place a moment ago – on Windows it's on the C: drive, on a Mac in your home folder. - Highlight the folder and confirm. You're selecting the folder with Miládka's files directly inside – not any parent folder, and nothing inside it.
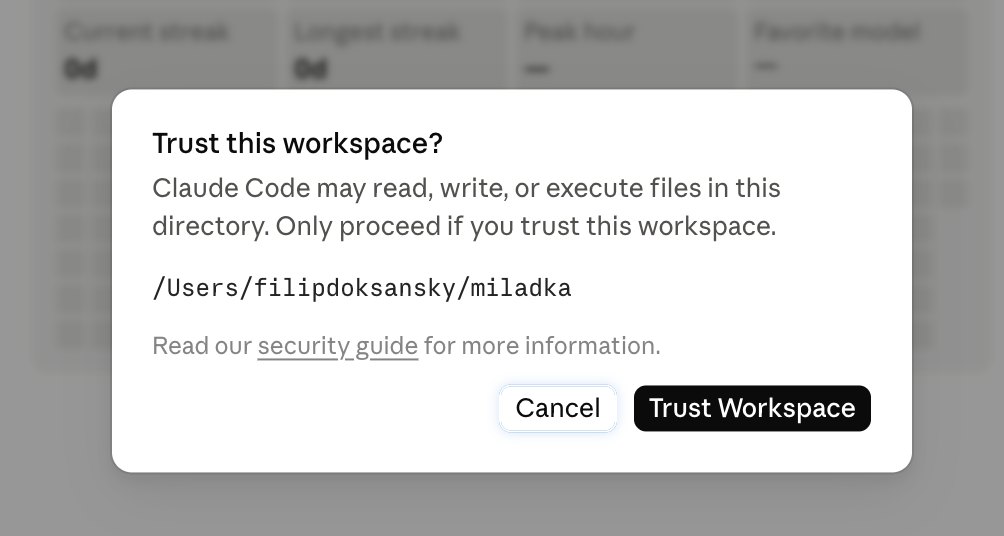
Once you confirm, Claude asks whether it can trust the folder – a Trust this workspace? window shows the path to your folder. It's your folder and Miládka needs to write into it, so click Trust Workspace.
Already using Claude Code? Point it at the Miládka folder only
This part applies only if you have used Claude Code before – say, for another project. A fresh install from step 1 asks you for the folder by itself, so you can skip this.
Claude Code remembers the folder it worked with last time and opens it again on the next launch. If Miládka started inside some other folder, she would be looking at another project's files and her installation would not go through properly. So switch folders before her first run:
On the Code tab, click New at the top of the left panel. Miládka deserves a clean start – an empty message box opens, with a row of controls above it.
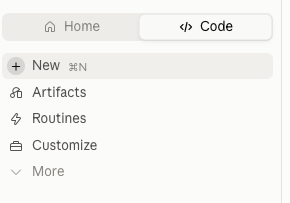
The left panel of the Code tab has New at the top – a new conversation That row has a chip with the name of the currently open folder – yours will show the project you worked on last. Click it.

The row with the open-folder chip above the message box – clicking it unfolds a menu with Open folder… A menu of folders Claude Code knows from before unfolds. Do not pick any of them – at the very bottom of the menu click Open folder…, find the
miladkafolder from step 2 and confirm.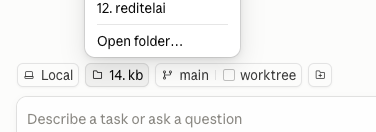
The menu also lists folders from before – Open folder… is always at the very bottom Check that the chip now says
miladka– and that it is the only open folder. Do not pick any parent folder (Documents, the whole drive) and do not add Miládka next to another open project. Miládka has to be open on her own, otherwise her installation gets mixed up with another project's files.
Ignore the other items on that row (branch name, worktree and so on) – they are not needed for installing Miládka, and there is nothing to change on them.
If Claude asks for Git
New versions of the Claude app don't need Git to start, so you'll usually skip this step. Miládka installs it herself when she needs it (for the backup, for example).
If an Install Git window shows up anyway, you have an older version of the app. Update it and the window goes away.
If an Install Git window shows up anyway, Git is missing on your computer. The Download Git button leads to a page with several installation options that's easy to get lost in; it's simpler and more reliable to let Apple install Git as part of its developer tools. It takes one command.
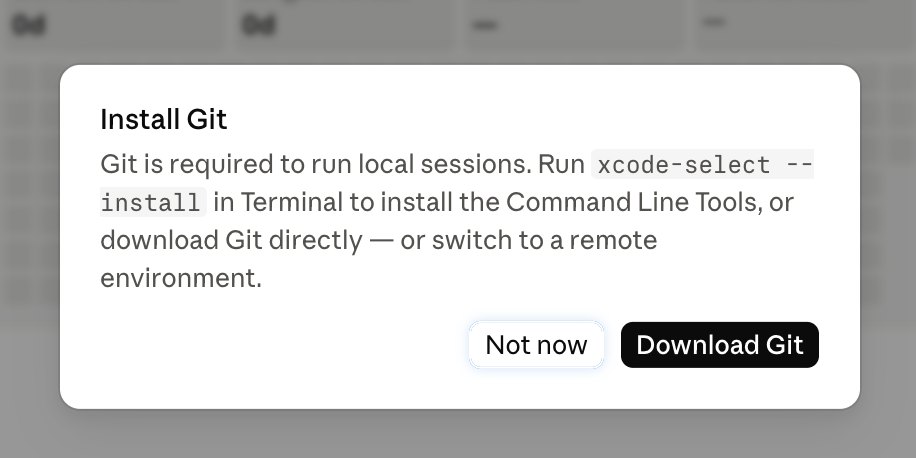
1. Open Terminal. Click the magnifier top right (or press ⌘ and space), type "Terminal" and press Enter. It's a black window where you type commands – you won't be doing anything else with it.
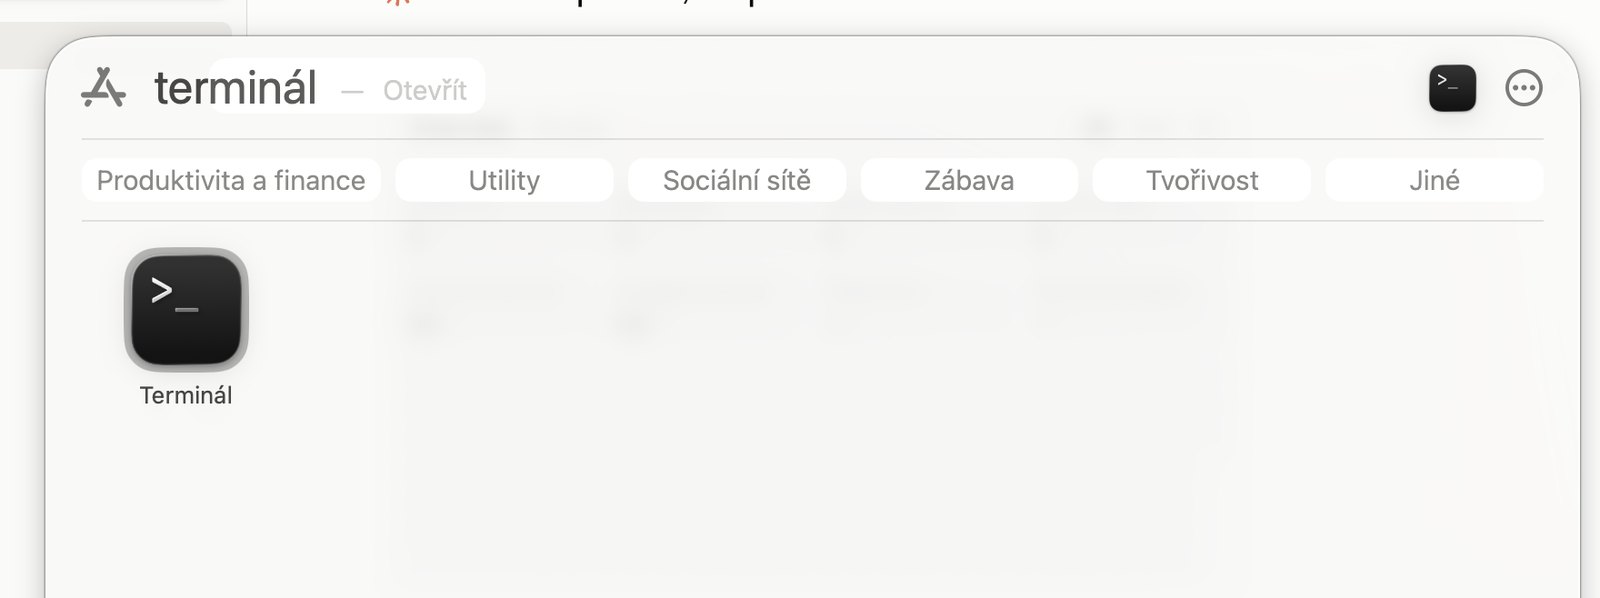
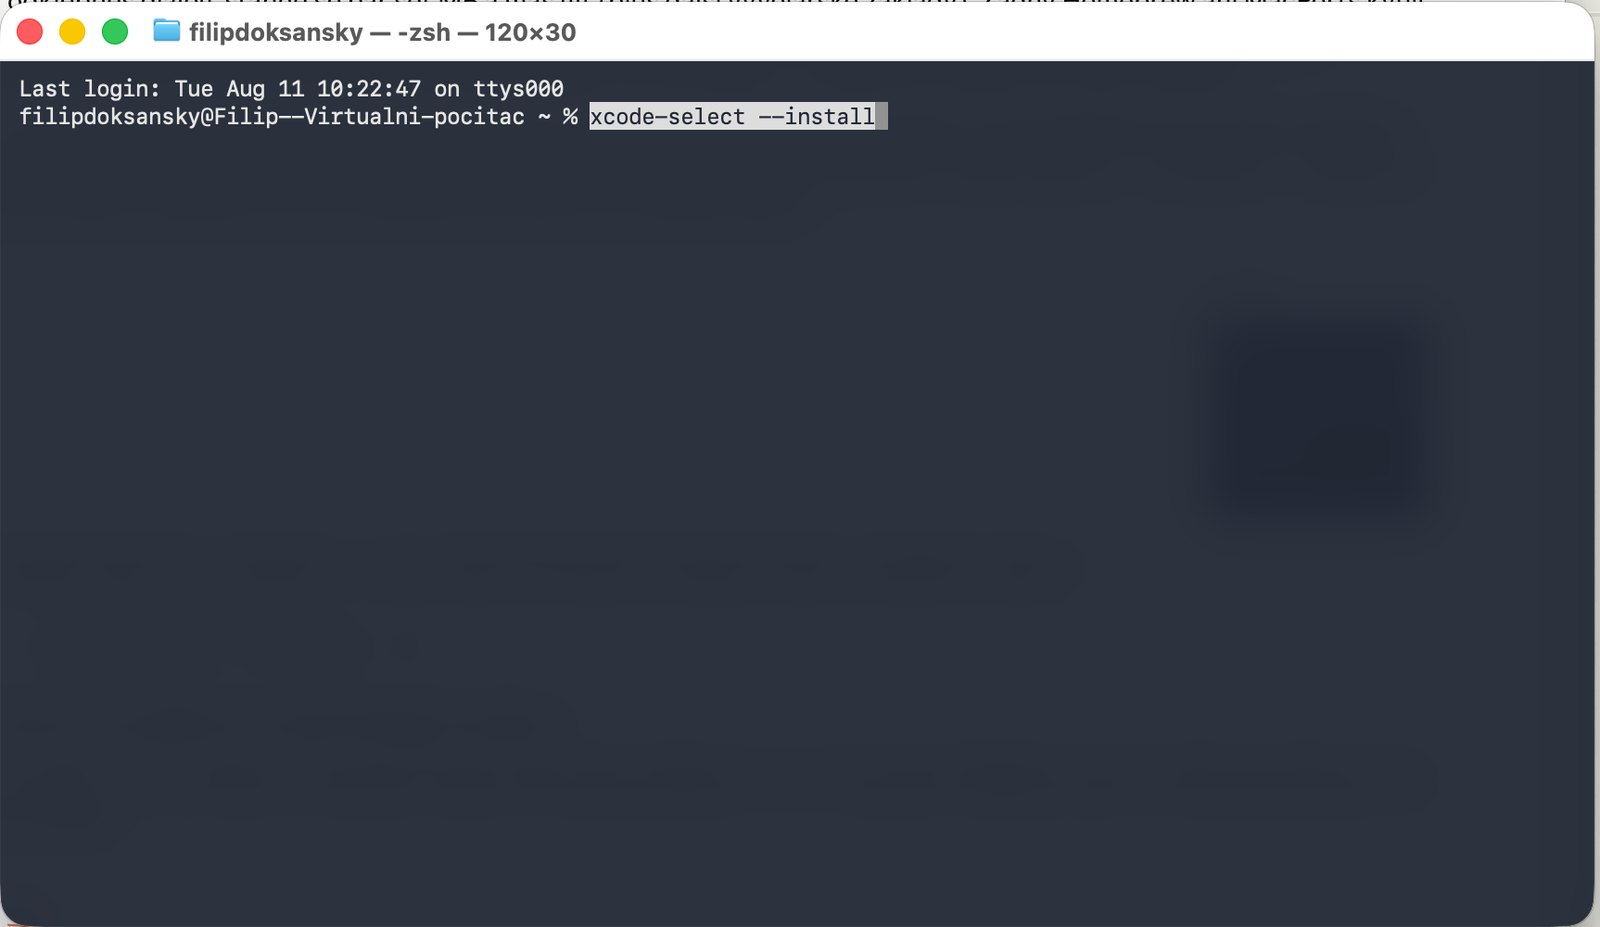
2. Copy this command into it and press Enter:
xcode-select --install
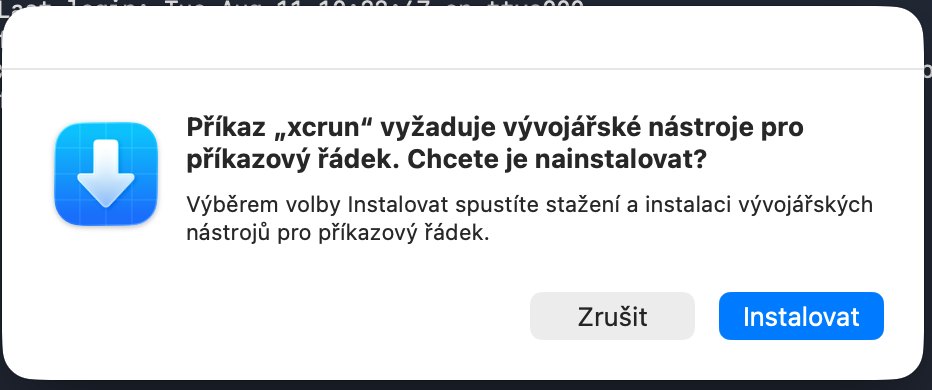
3. Confirm the installation. A window pops up saying the xcrun command requires the command line developer tools – click Install.
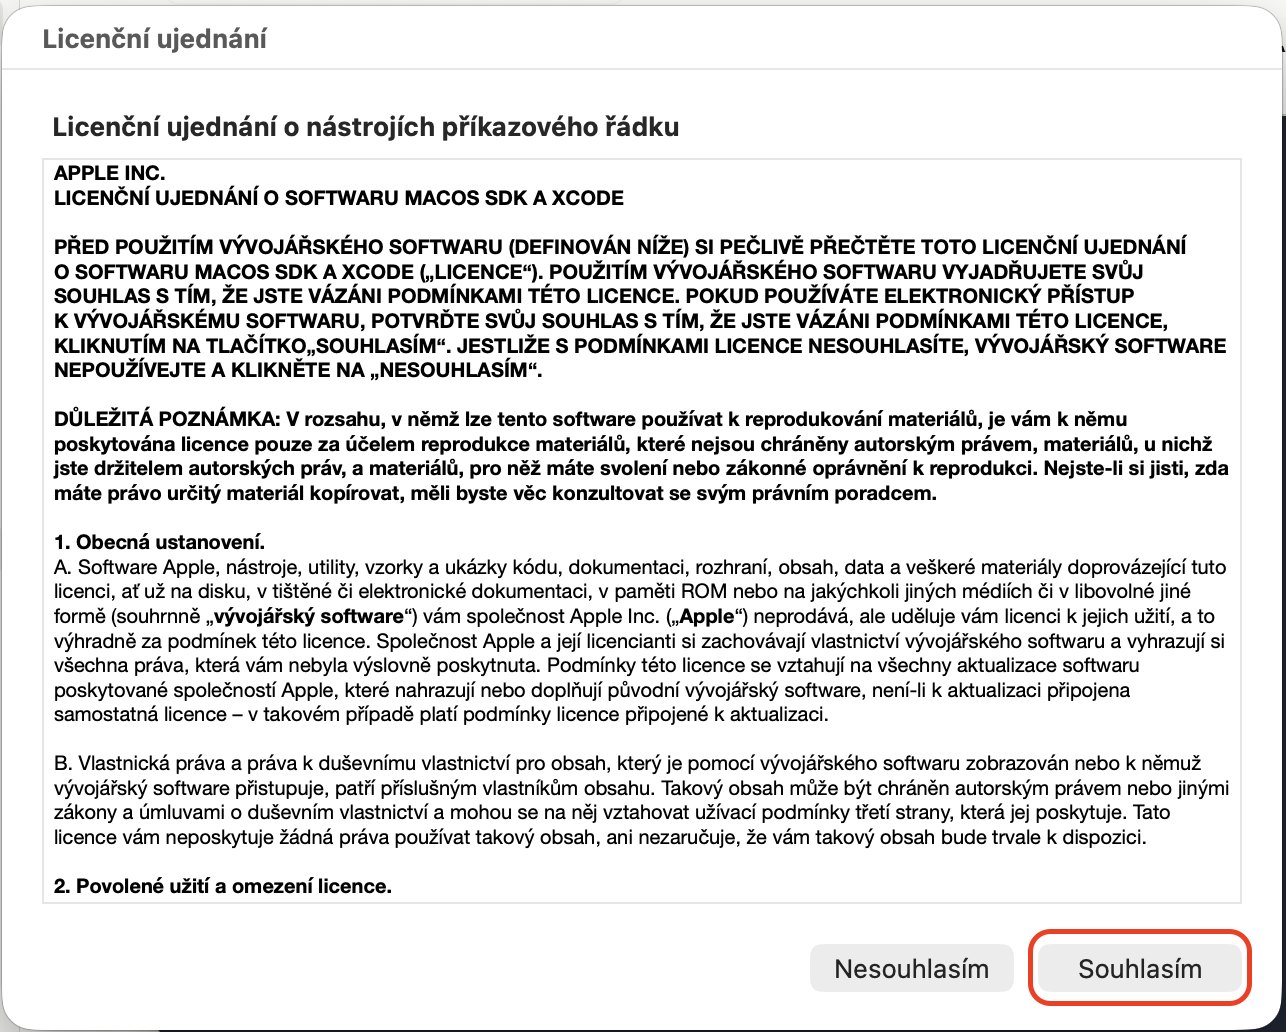
4. Agree to the licence. Apple's licence agreement appears – click Agree.
5. Wait for the download. Depending on your connection it can easily take ten to twenty minutes and the window shows an estimate. You can do something else meanwhile, just don't turn the computer off.
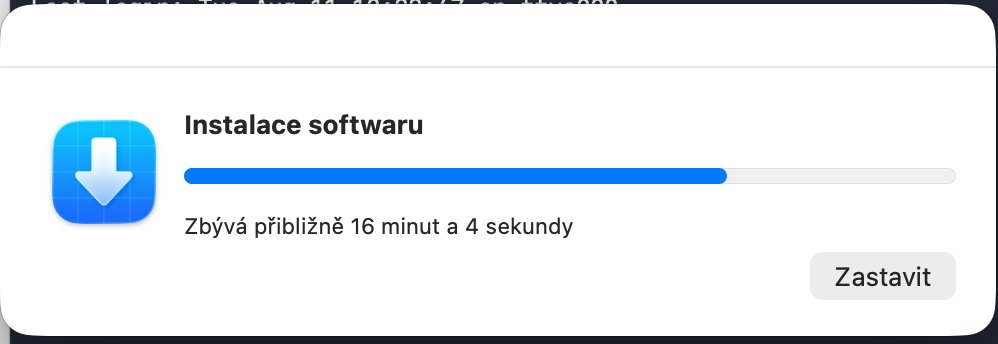
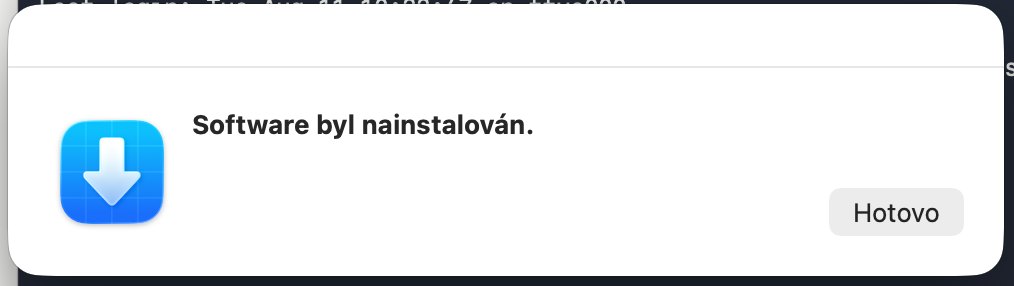
6. Close the window and Terminal. When "The software was installed." appears, click Done and close Terminal – you won't need it again.
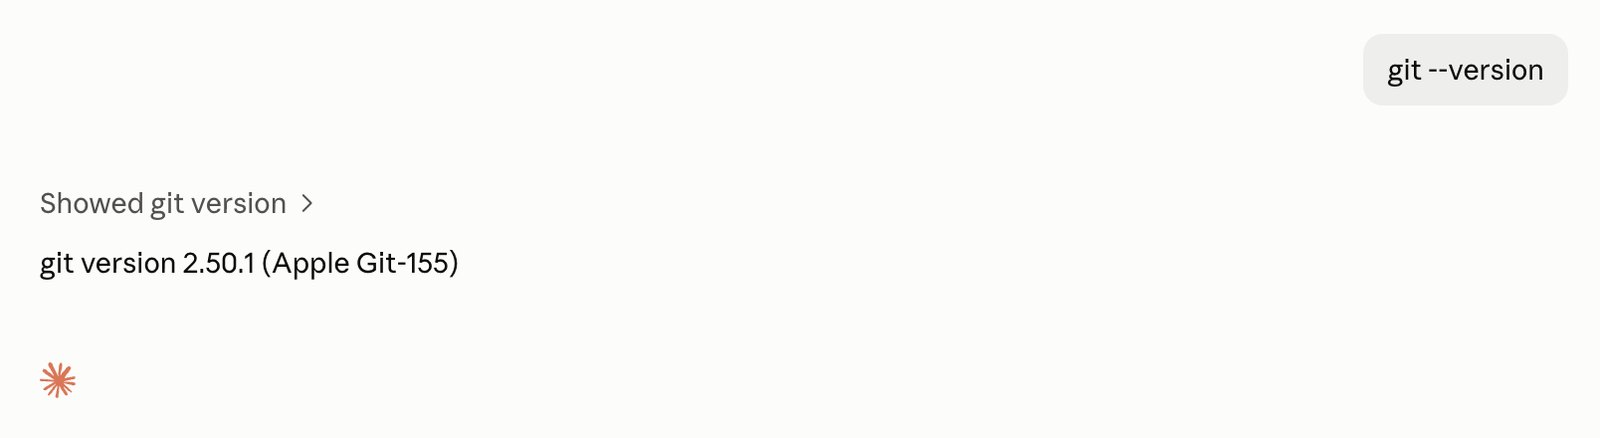
7. Check it in Claude. Go back to Claude and type git --version into the text box. Claude asks whether it may run the command – confirm with Allow once. If it answers something like "git version 2.50.1", you're done and can carry on.
Write her your first message
At the bottom you'll see a text box, same as in the regular chat. Copy this sentence into it and send it:
Hi, name this chat "Miladka". You are Miladka, my personal assistant. Open the file _setup/README.md in this folder and guide me through the setup.
And that's it. Miládka answers, introduces herself and takes the lead from there.
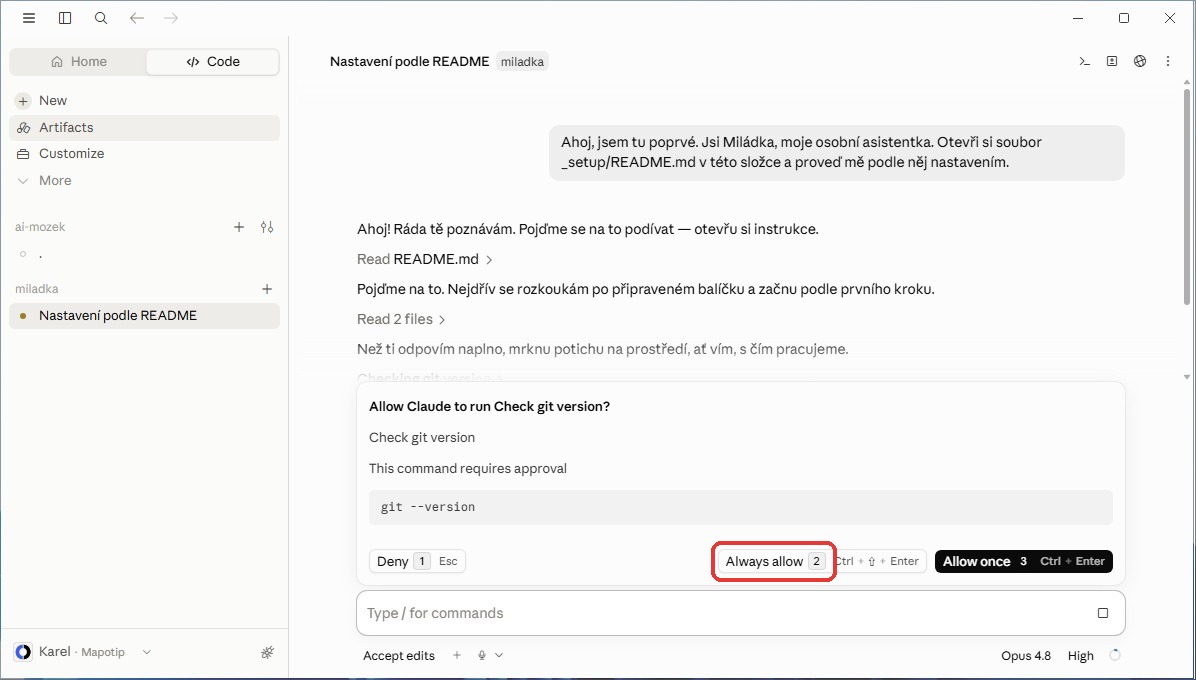
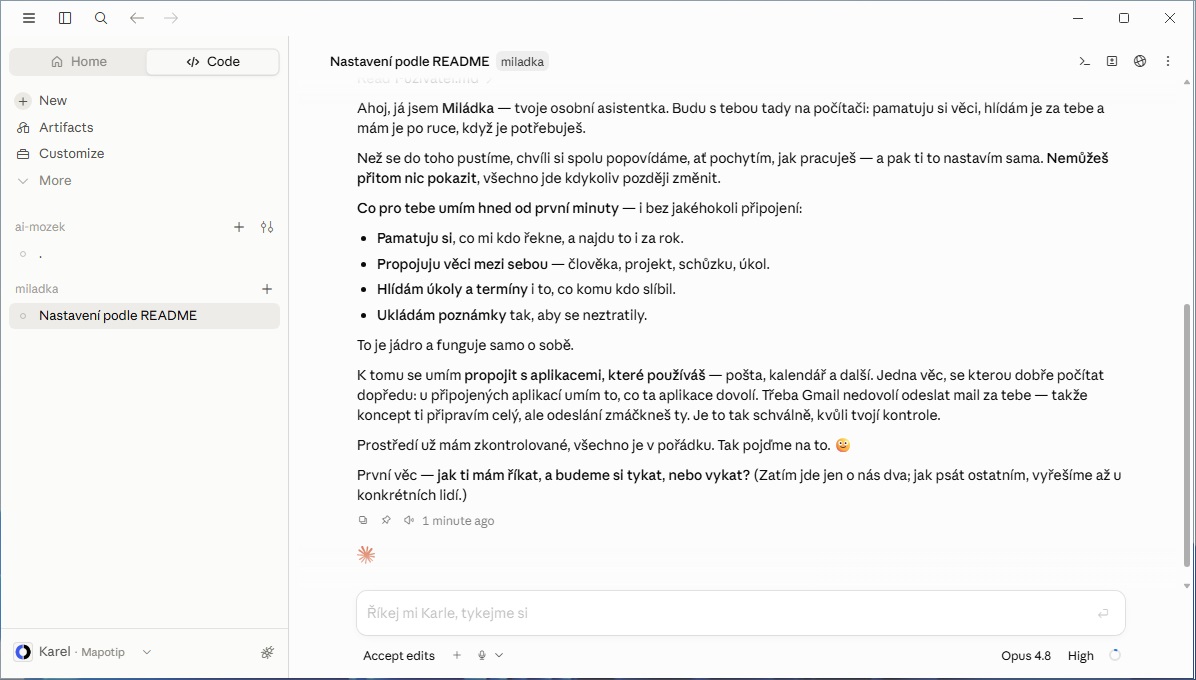
Claude may ask for permission. If it wants to confirm it may work with the files in the folder, go ahead and allow it – it's your folder and Miládka needs to write into it. If it offers an "always allow" option, pick it, so it doesn't keep asking.
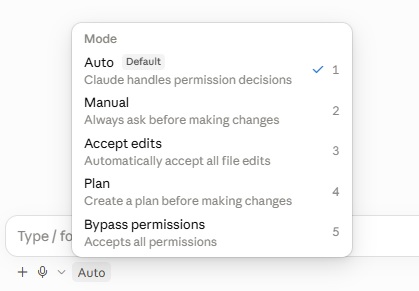
During setup Miládka may ask you to switch the mode to Accept edits, for example before she writes something into Claude's settings. The switch is at the bottom by the message box. When she's done, she'll tell you to switch it back.
What happens next
Miládka will guide you through the setup:
- She introduces herself And asks about your work.
- She writes down a first thing One real thing, so you see how she works.
- She offers mail and backup She turns both on if you want.
- She sets up the morning brief And shows it to you right away as a trial run.
For the morning brief she asks what time you want it and sets everything up herself. If Claude asks for permissions, choose Always allow, it's a one-time thing.
From the next morning the brief arrives right in the conversation where you work with Miládka. When the app is running, it comes on its own at the time you chose. When it isn't, you get it with the first message you write that day. In the morning, just open Miládka: the brief is either already waiting or arrives with your first hello. And any other time, just ask for it.
You can't break anything. Everything can be changed at any time, just tell Miládka. If you're unsure about something, ask her right in the chat.
Frequently asked questions
Can Miládka send emails?
By default she prepares a draft and you do the sending. If you allow her to, she can send emails too, but only the ones you explicitly allow.
Does she go through my mail on her own?
That's up to you. Basic Miládka looks at your mail in the morning brief and whenever you say "go through my mail". With the Multiple Gmail inboxes add-on she can also watch it continuously: a small program without AI tells her when something arrives, and she sorts it. She can't send anything on her own unless you allow it.
Where is my data?
In a folder on your computer, as ordinary text files. You can look into them any time. If you turn on backup, they're additionally stored in your private account that nobody else can see.
Do I have to learn commands?
No. You talk to her normally, like to a colleague. In the folder you'll find a file called cheatsheet.md with examples of what you can say.
What is the backup and why do I want it?
Miládka remembers everything in a folder on your computer. If something happens to it, it's gone. Backup means that after every piece of work she puts a copy into your private account on the internet – and if you lose the computer, she comes back with everything she remembered. That's also how you move her to a new computer.
It's free, takes about fifteen minutes, and Miládka asks you about it herself during setup. The step-by-step guide is in the backup guide.